Configuring Vector

Reset Vector to Zero

Vector returns to zero output each time measurement is reset.
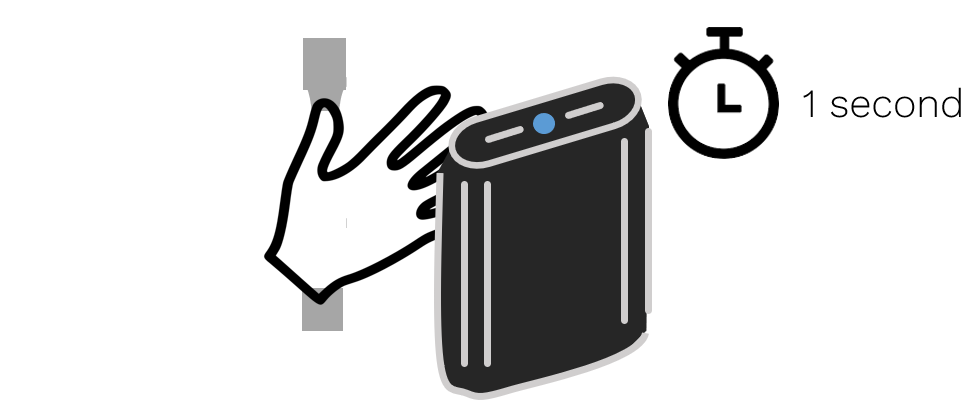
Cover the markings for atleast 1 second to reset Vector.
_images/handstop.png
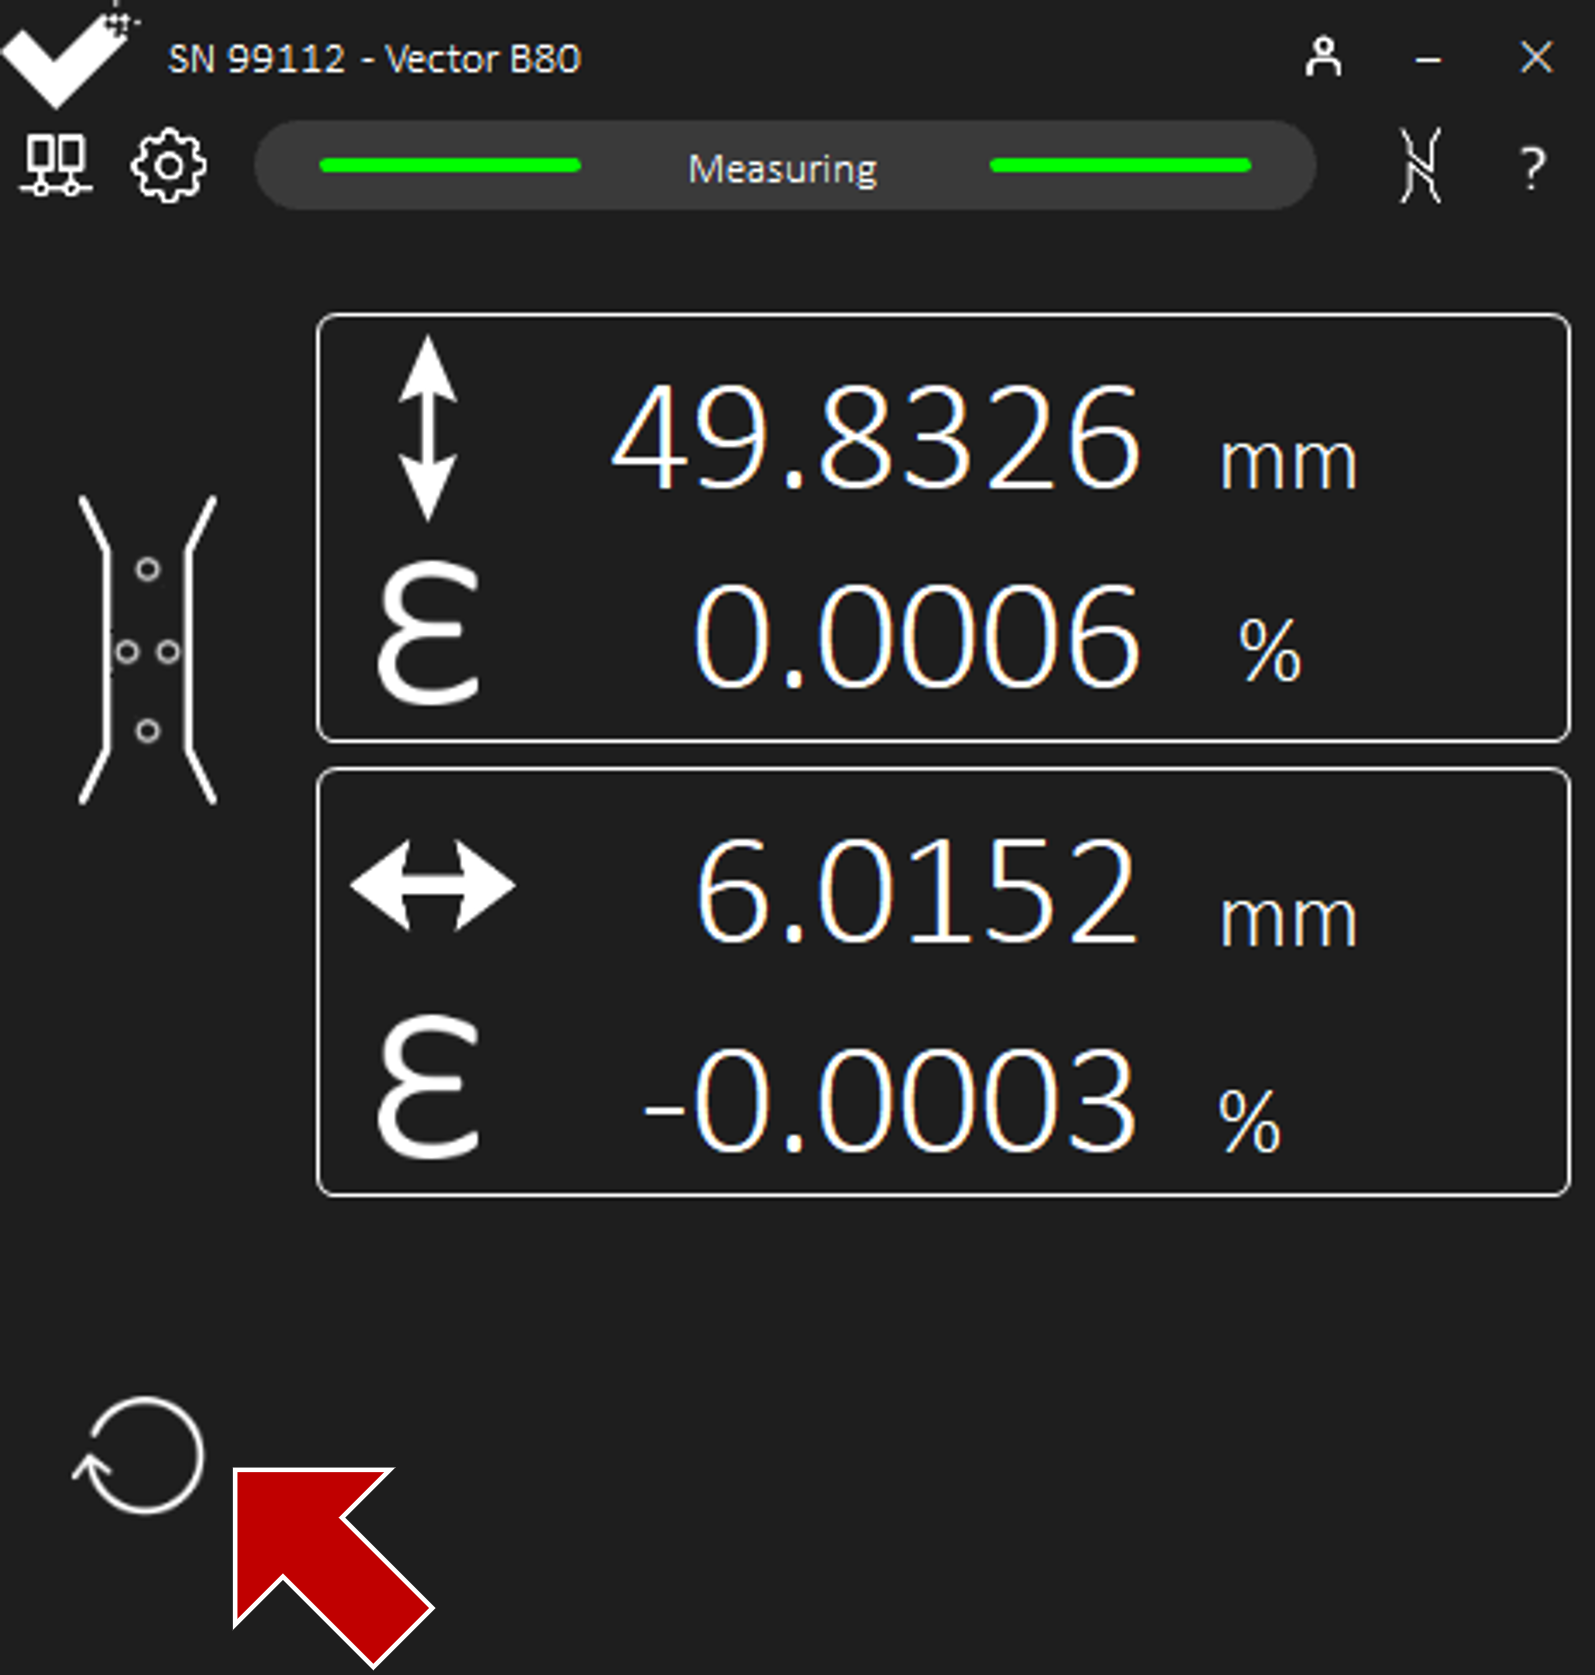
The status lights on Vector will go from green to oscilliting blue to indicate Vector has stopped measuring.
Alternatively, the “hand-stop” (Vector Reset) button in the interface can be used.
_images/MeasuringHandstop.png

Setting the Unit Type for Measurement and Configuration

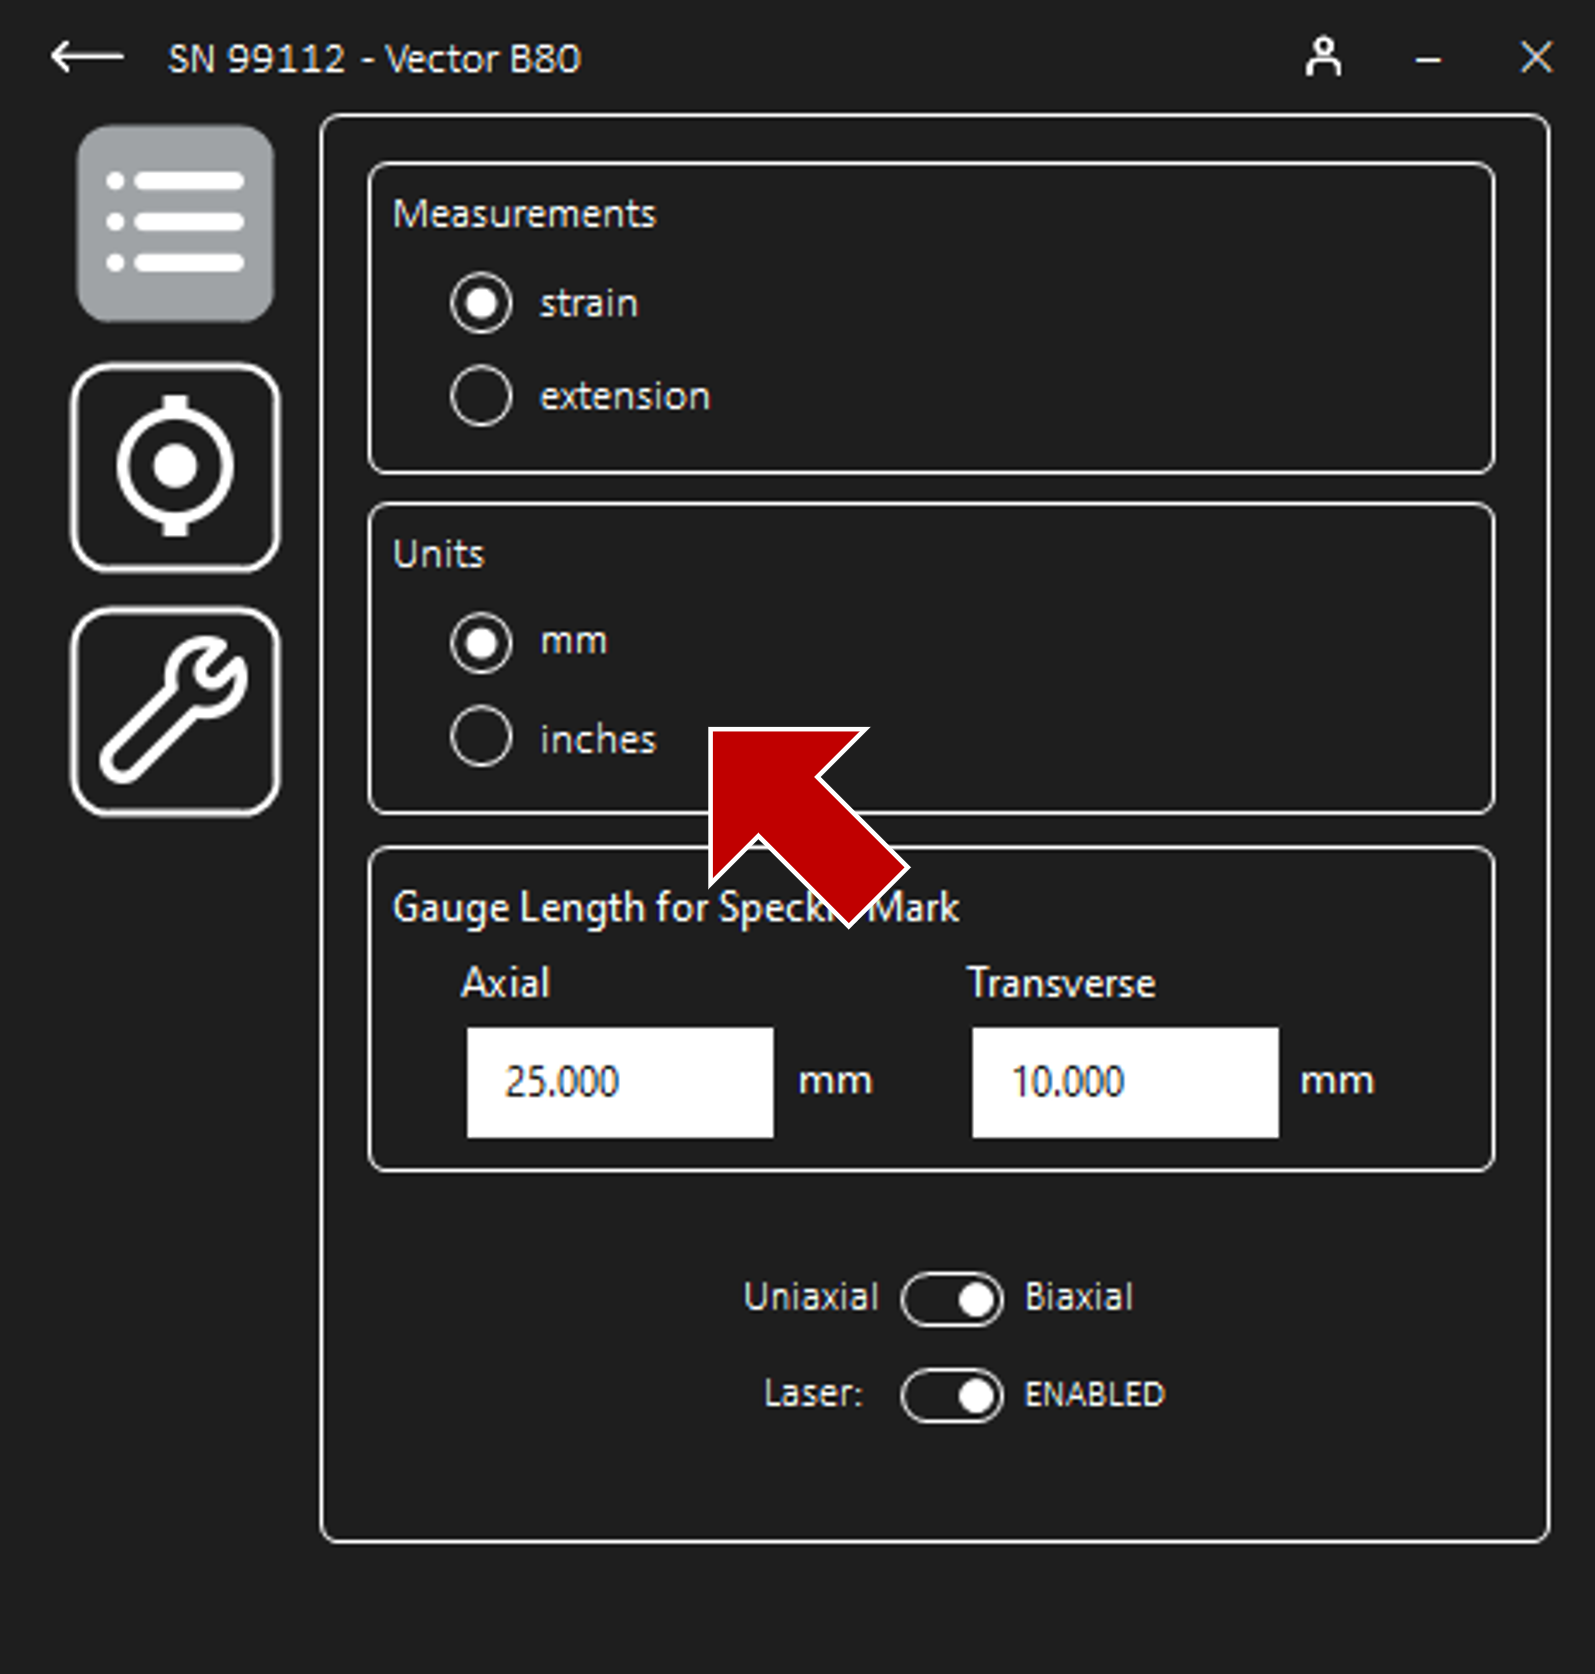
Vector can display in mm or inches. This will be applied in:
  • Target Gauge Length

  • Measurement Gauge Length

  • Output when in extention

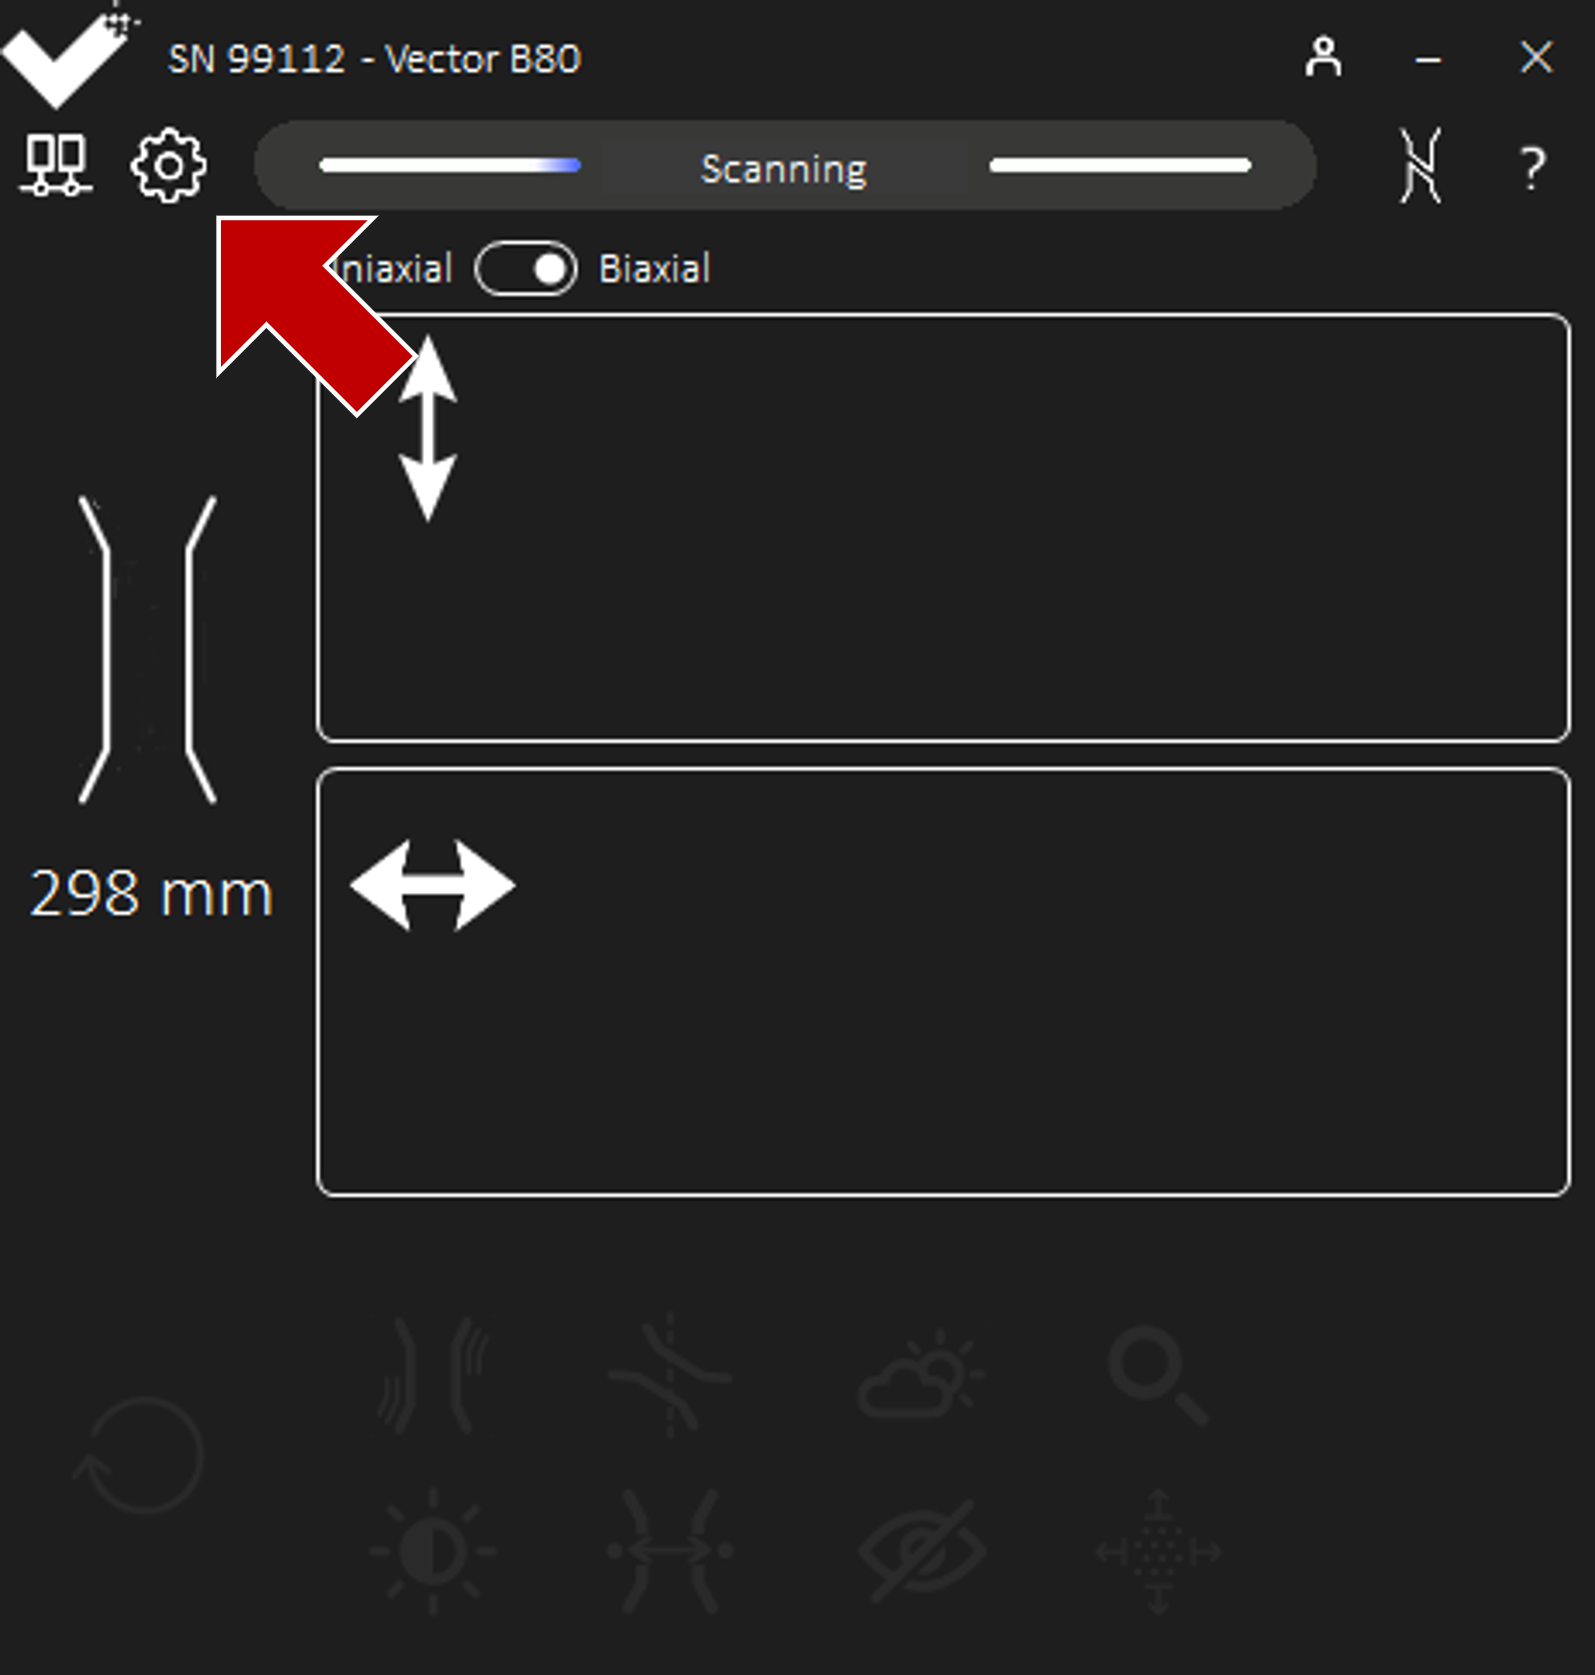
Once connected to Vector, navigate to Settings and then Options to select the desired unit.
_images/ScanningSettings.png _images/OptionsUnit.png

Information

info

A change of units when outputting in extension will require a recalibration of the analogue signal to the test frame and a recalibration of the extensometer system according to the desired standard.

Information

info
When using Vector B80 only:
The Unit Type applies to both measurements.

Setting the Measurement Type to Output

Vector can output in strain, as a %, or extension, as mm or inches.
Once connected to Vector, navigate to Settings and then Options to select the desired output type.
_images/ScanningSettings.png _images/OptionsMeasurement.png

Information

info

A change of units when outputting in extension will require a recalibration of the analogue signal to the test frame and a recalibration of the extensometer system according to the desired standard.

Information - B80

info
When using Vector B80 only:
The Measurement Type applies to both measurements.

Setting the Measurement Mode of Vector B80

Vector B80 can measure in both uniaxial and biaxial - measuring axial and transverse gauge lengths simultaniously.
Once connected to Vector, navigate to Settings and then Options to use the toggle button for Biaxial Mode.
_images/ScanningSettings.png _images/OptionsTransverse.png
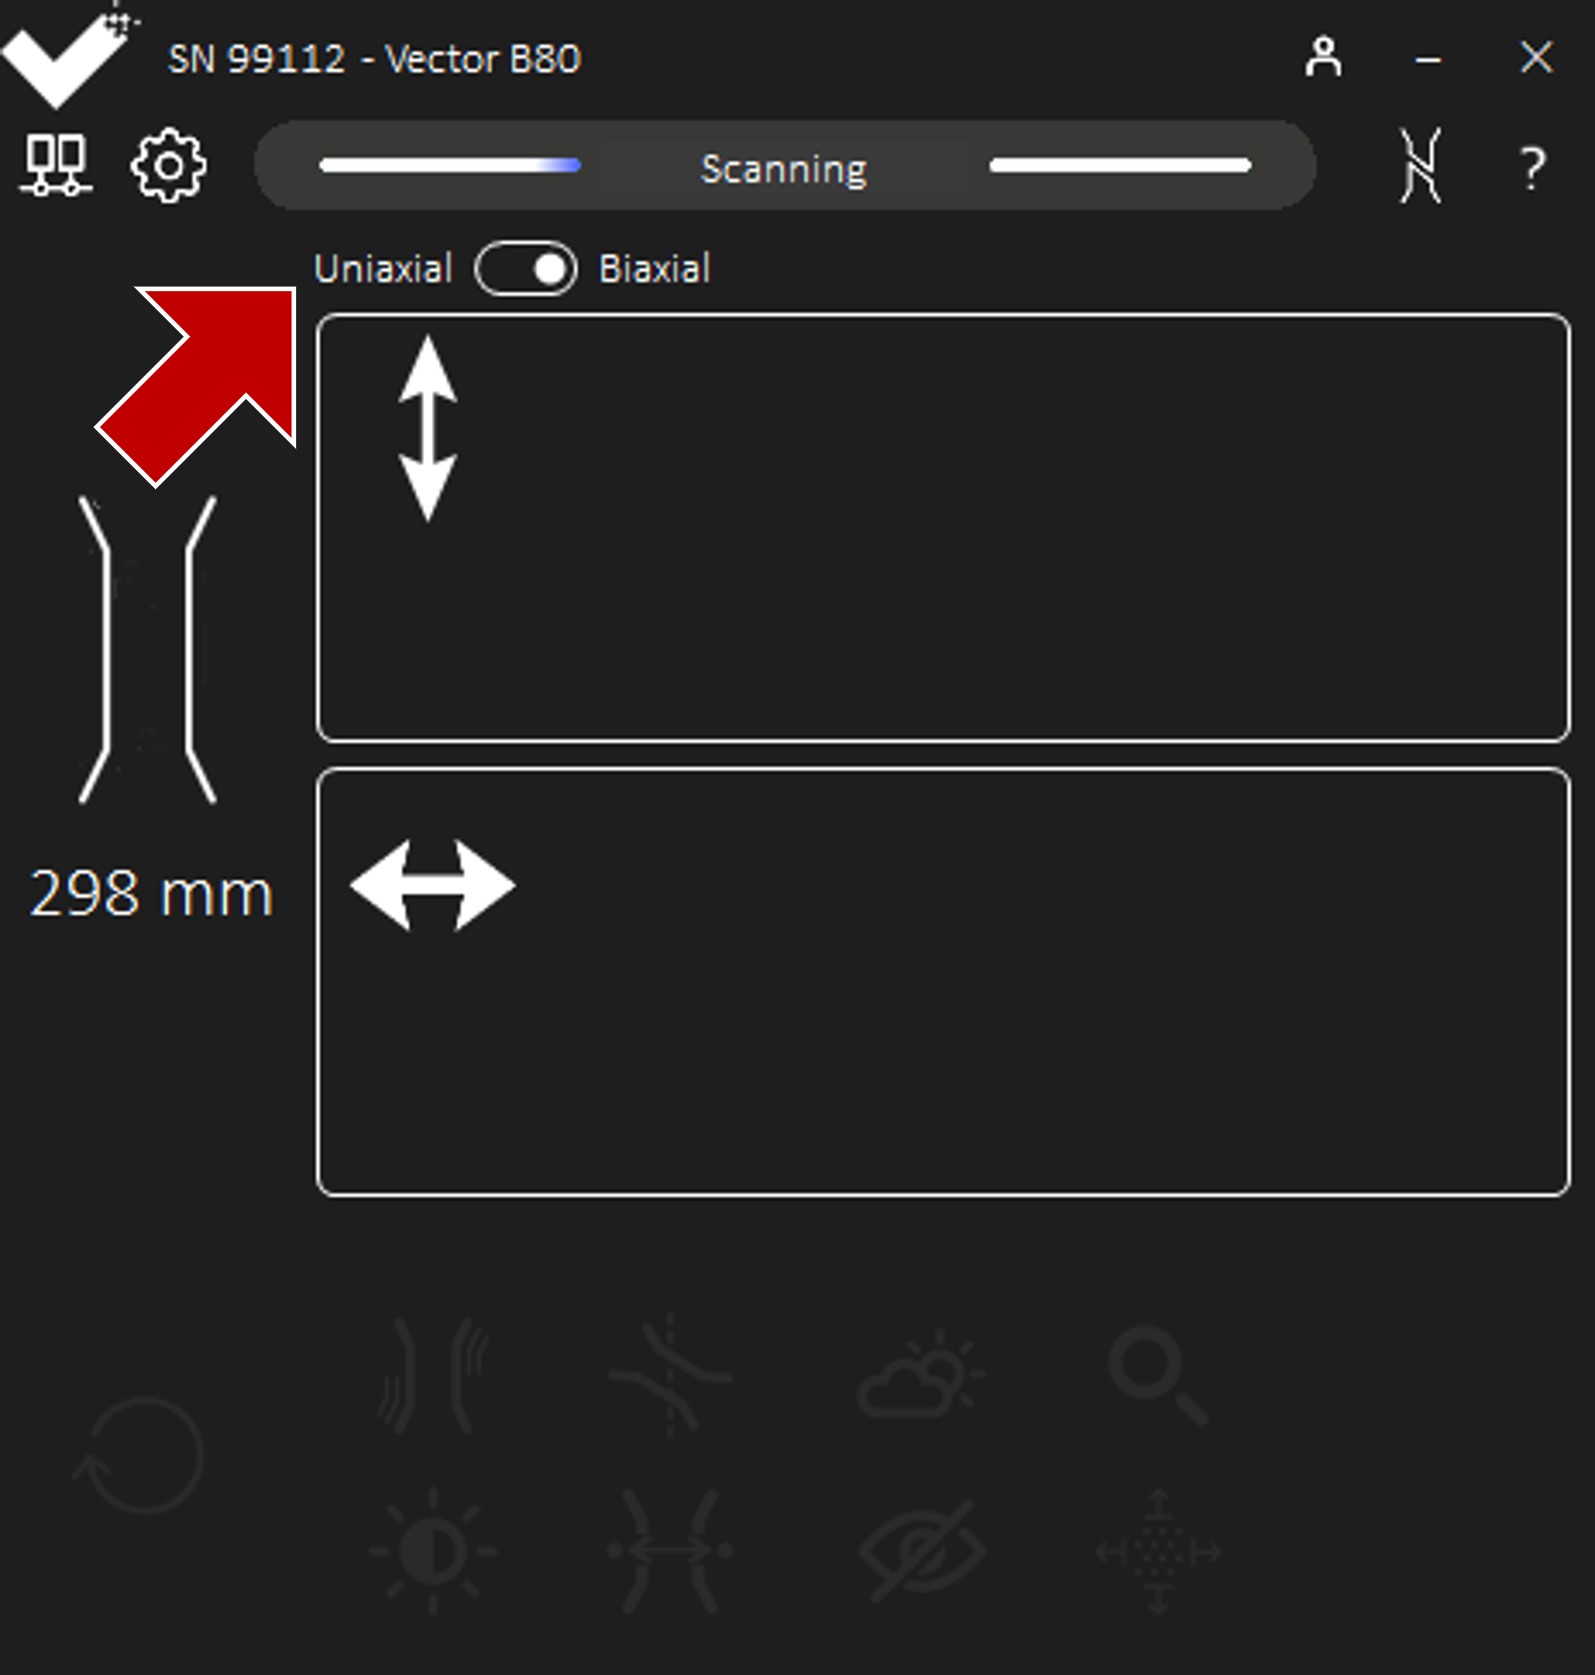
Alternatively, the measurement mode toggle button can be accessed directly from the scanning page.
_images/ScanningToggleMode.png

Information

info
Measurement Mode applies when using Vector B80 only.
This configuration is unavailable for uniaxial Vectors.

Validation Block Information via the Vector Interface

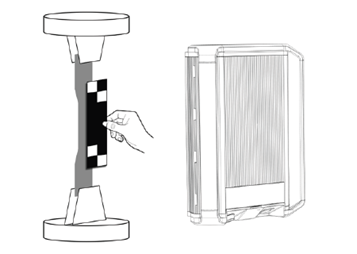
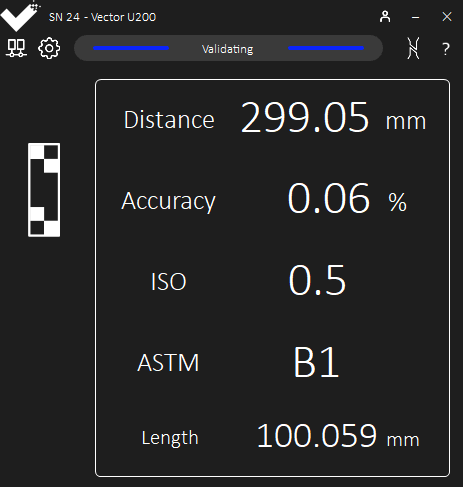
The “Validation Block” is used to validate the measurement of Vector. Present the Validation Block to Vector and the Interface will display key information on measurement accuracy and distance.

_images/Valblock.png _images/ValidatingNew.png

Enabling and Disabling the Alignment Lasers via the Vector Interface

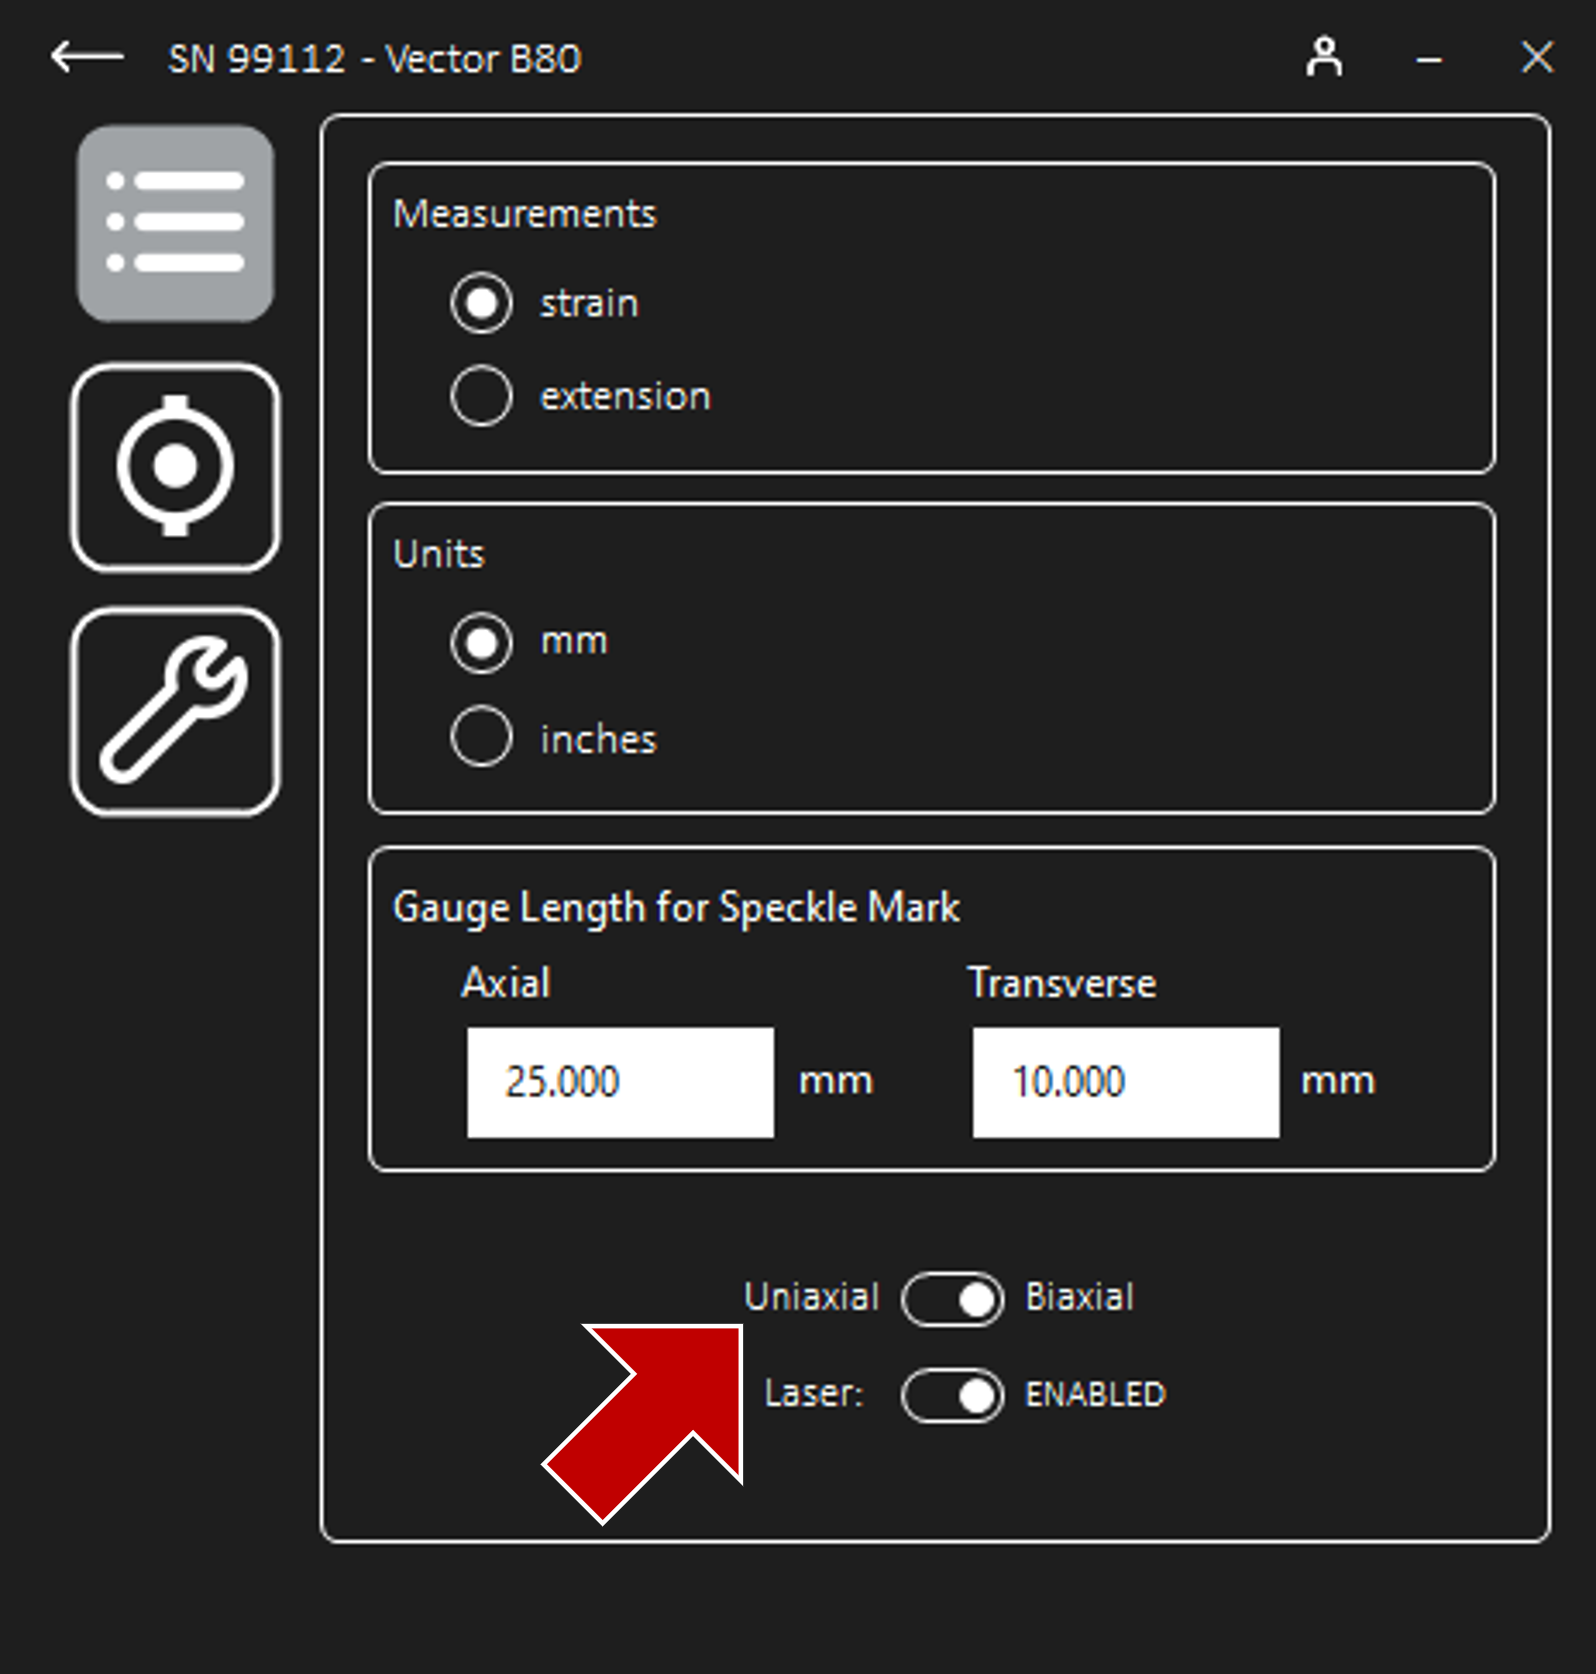
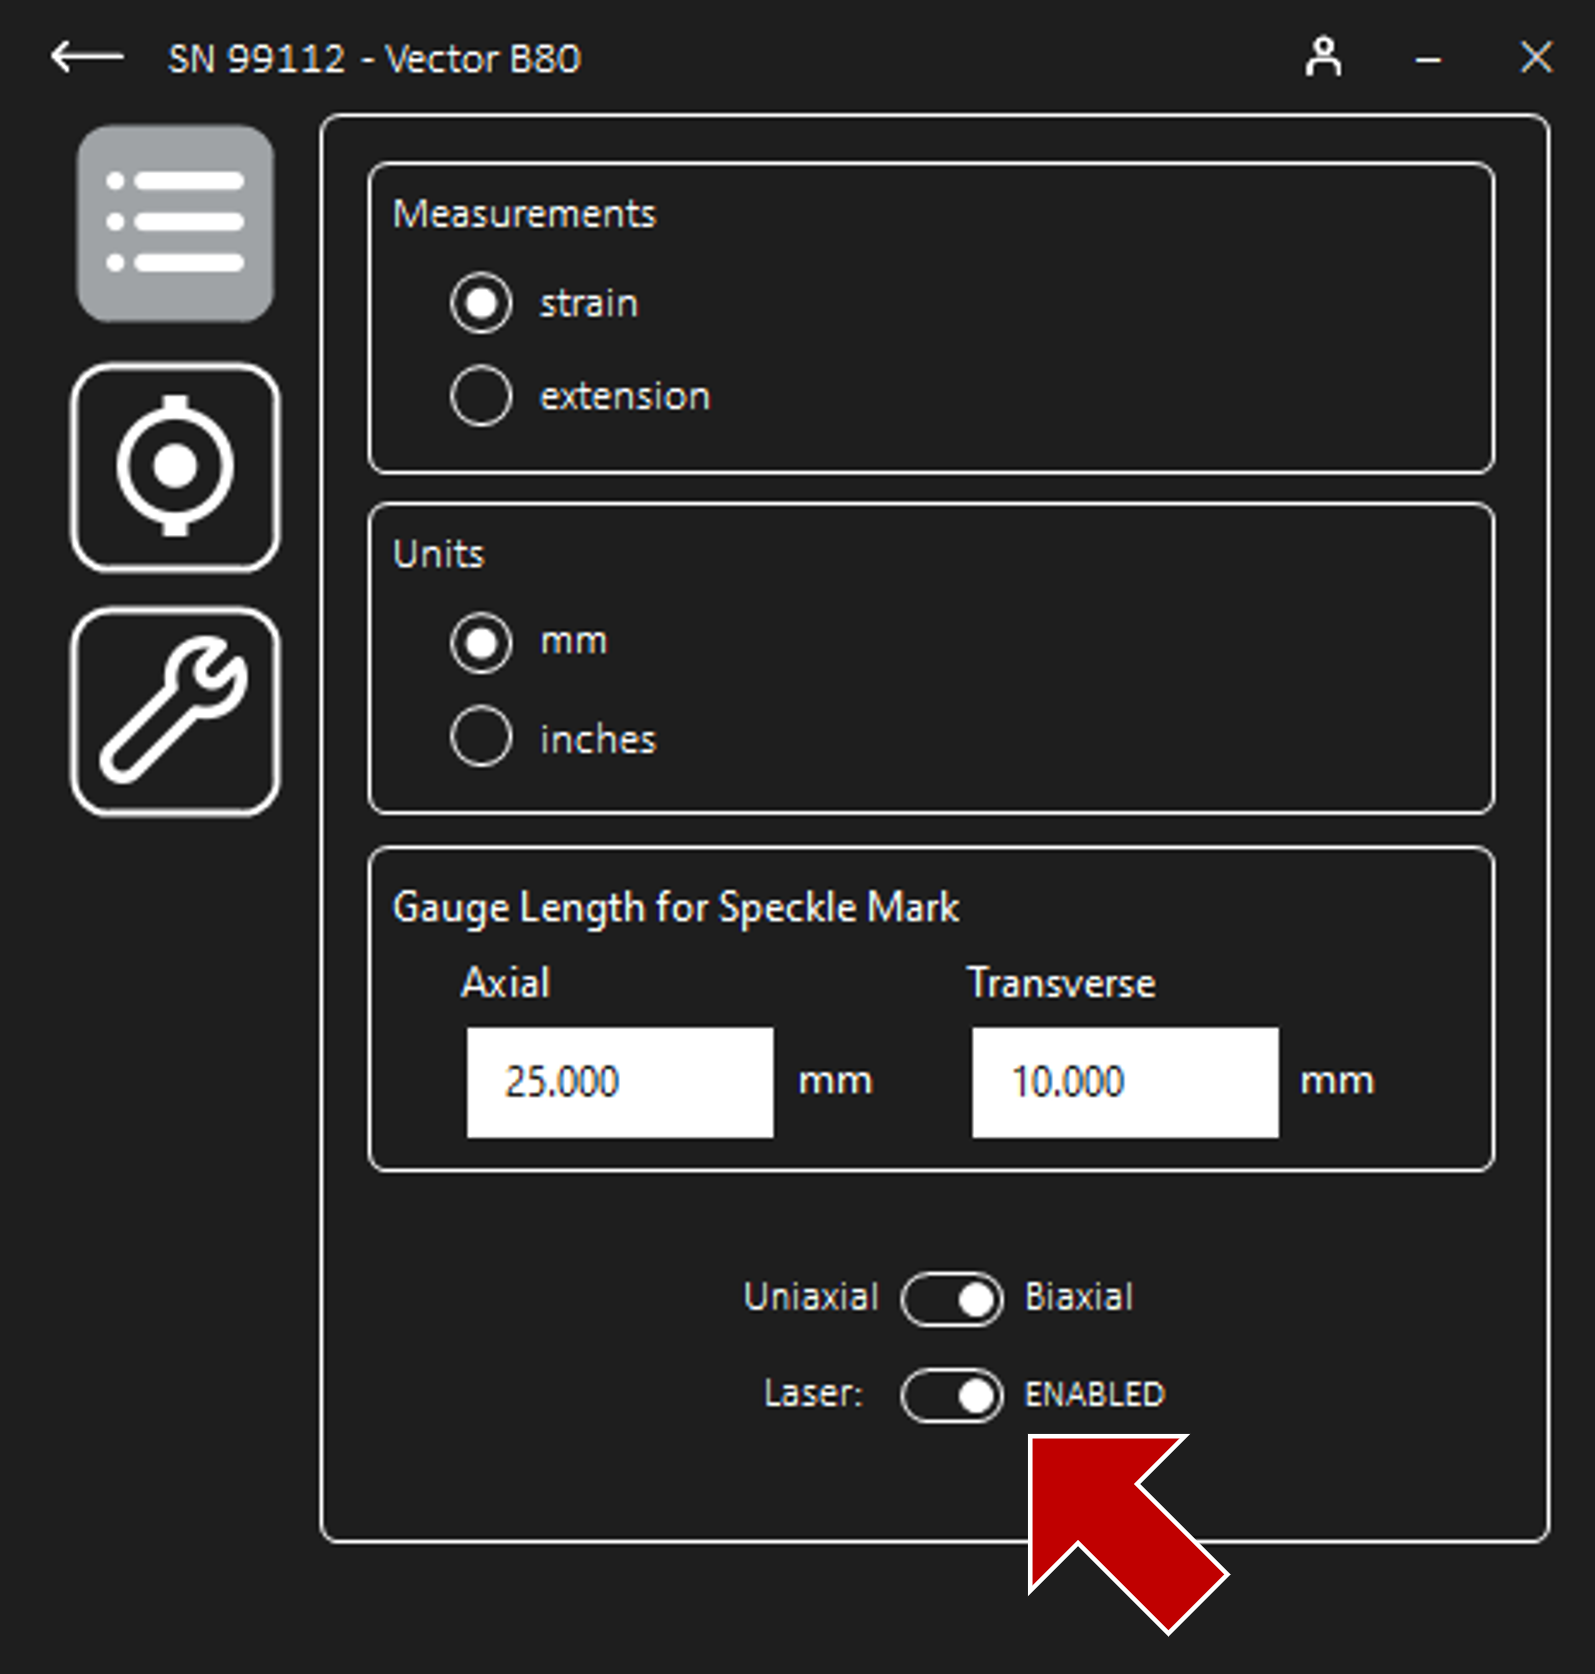
Alignment lasers are on by default and can be disabled and reenabled easily using the Interface app. Once connected to Vector, navigate to Settings and then Options to use the toggle button for Alignment Laser behaviour.

_images/ScanningSettings.png _images/OptionsLaser.png

Alignment lasers only show during scanning, when the status light is oscillating blue.

Setting the Target Gauge Length via the Vector Interface

Speckle markings require a Target Gauge Length to establish Measurement. If a Target Gauge Length exceeds the speckle region, Measurement cannot begin until either the Target Gauge Length is correct, or markings are cleaned and reapplied.
The Target Gauge Length can be edited easily using the Interface App.
Once connected to Vector, navigate to Settings and then Options to set the desired Target Gauge Length.
_images/ScanningSettings.png _images/OptionsTGL.png
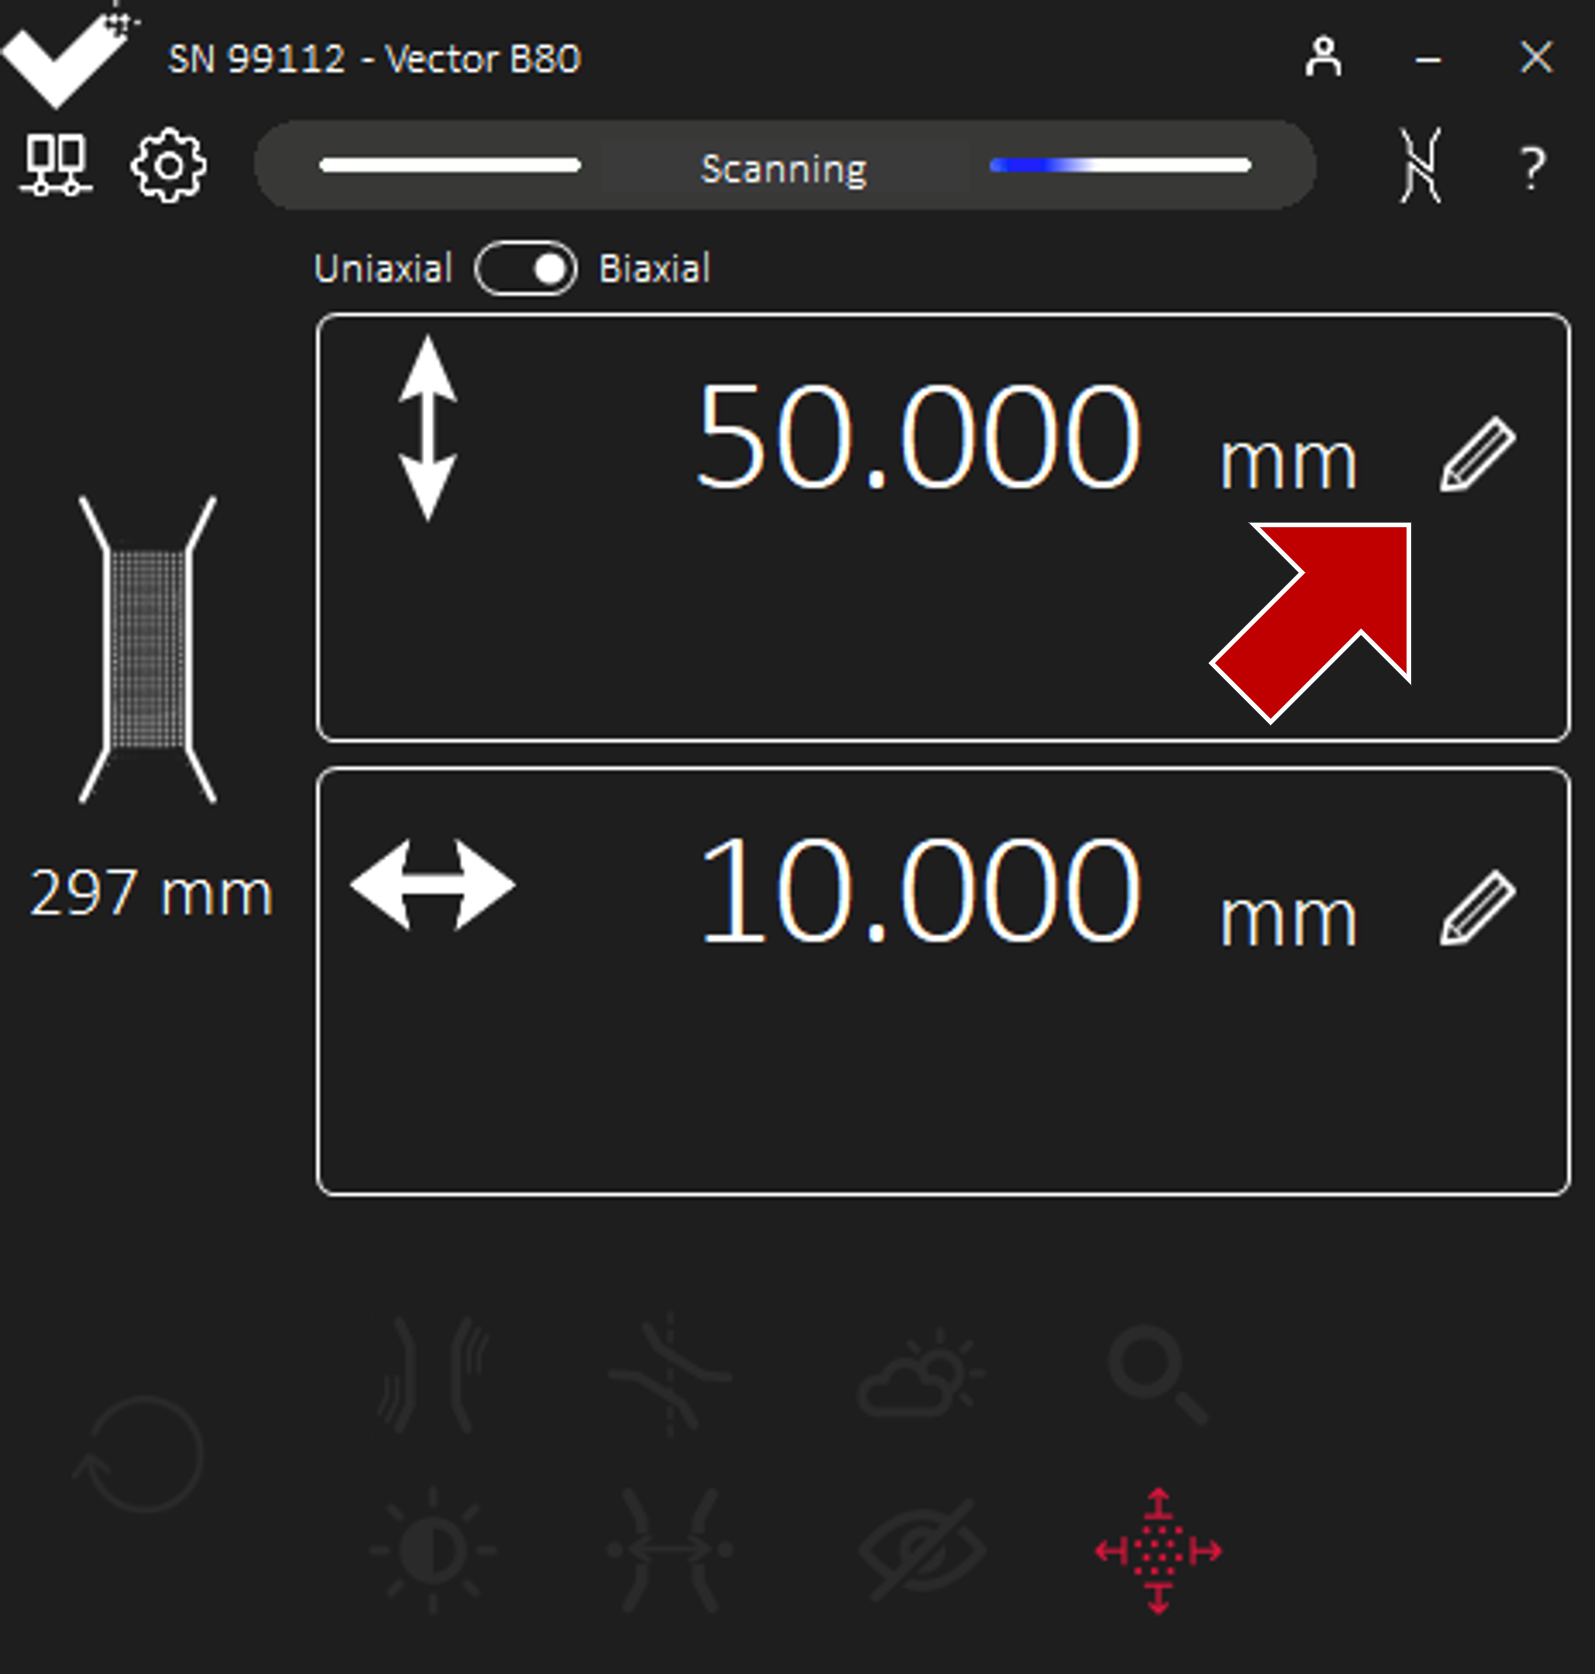
Alternatively, the Target Gauge Length is presented when Vector detects a speckle pattern, and can be editted by clicking the Pencil icon.
_images/ScanningTargetGaugeLength.png

Information - B80

info
When using Vector B80 only:
Vector B80 has Target Gauge Lengths for both *axial* and *transverse* gauges. The transverse Target Gauge Length is visible when Vector is in biaxial mode.

Scaling the Analogue Output Signal

Vector outputs the measurement as an analogue voltage via a BNC connection. The scaling of the voltage can be configured whenever Vector is Scanning.
Once connected to Vector, navigate to Settings and then Output to scale or set the output voltage.
_images/ScanningSettings.png _images/OptionsOutput.png
To scale the maximum (+10V) and minimum (-10V) voltages to the desired strain or extension range, input the measurement limits against the corresponding voltages.
To set the output to a fixed value of the minimum, zero, or maximum scale, click on the corresponding Set Output buttons.
_images/OutputScale.png _images/OutputSet.png
Setting the output is a convenient method during the voltage scaling calibration process, and as a quick check to validate the scale is correct.
Vector B80 has analogue scales for both axial and transverse gauges.
_images/OutputTransverse.png

Information - B80

info
When using Vector B80 only:
Vector B80 has output scaling for both *axial* and *transverse* gauges. The transverse output scaling is visible when Vector is in biaxial mode.