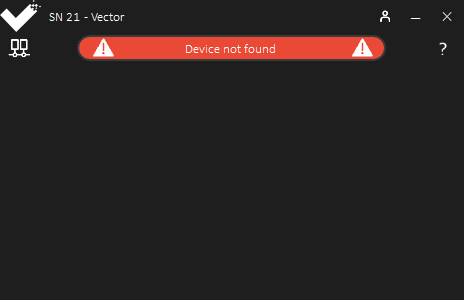
The Interface Cannot Connect to Vector
Click the  button to return to the device selection page. If this is the first time the interface is run, this page will show by default.
Wait a few seconds to see if the device appears in the list. If it does not, return to the windows desktop to check the ethernet adapter properties as follows.
Open the “Settings” application.
From the displayed settings, select “Network & Internet”.

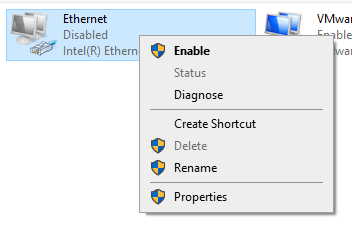
On the resulting page, the adapter will be listed. | If not, click “Change adapter options”. This will open a windows listing all enabled and disabled adapters. | Right-click on the disabled adapter and select “Enable”.

The adapter will update to say “Identifying” and then after a short wait it will be enabled again.

Close the window and return to the Network Status page.
For the adapter in question, click “Properties”

On the resulting page there should be section called “IP Settings”. Which details how the IP assignment is configured. This should be set to “Automatic (DHCP)”. If it is set to “Manual”, click “Edit” and change to “Automatic (DHCP)”

